Fedora1764bit安装ORACLE11gR2
一、硬件检测
1、内存检测 oracle11g要求最低1GB内存
1 [[email protected] ~]$ grep MemTotal  /proc/meminfo
2 MemTotal:        6113852 kB
2、交换空间检测 通常交换空间是内存1.5倍
1 [[email protected] ~]$ grep  SwapTotal /proc/meminfo
2 SwapTotal:       8388604 kB
3、临时目录/temp检查
1 [[email protected] ~]$ df -k /tmp
2 Filesystem     1K-blocks    Used Available Use% Mounted on
3 /dev/sda7       20642428 4091780  16340968  21% /
二、配置过程
1、创建用户和用户组
[[email protected] home]# /usr/sbin/groupadd oinstall
[[email protected] home]# /usr/sbin/groupadd dba
创建Oracle用户和密码,输入命令:
[[email protected] home]# /usr/sbin/useradd -g oinstall -g dba -m oracle
[[email protected] home]# passwd oracle
2、创建数据库软件目录和数据文件存放目录
mkdir /home/oracle/a
mkdir /home/oracle/app/oracle
mkdir /home/oracle/app/oradata
mkdir /home/oracle/app/oracle/ product
更改目录属主为Oracle用户所有
chown -R oracle:oinstall /home/oracle/a
3、修改用户的SHELL的限制
修改/etc/security/limits.conf文件
输入命令:vi /etc/security/limits.conf,按i键进入编辑模式,将下列内容加入该文件。
oracle soft nproc 2047
oracle hard nproc 16384
oracle soft nofile 1024
oracle hard nofile 65536
编辑完成后按Esc键,输入 “:wq” 存盘退出
修改/etc/pam.d/login 文件,输入命令:vi /etc/pam.d/login,按i键进入编辑模式,将下列内容加入该文件。
ession required /lib/security/pam_limits.so
ession required pam_limits.so
编辑 /etc/profile ,输入命令:vi /etc/profile,按i键进入编辑模式,将下列内容加入该文件。
1 if [ $USER = "oracle" ]; then
2     if [ $SHELL = "/bin/ksh" ]; then
3         ulimit -p 16384
4         ulimit -n 65536
5     else
6         ulimit -u 16384 -n 65536
7     fi
8 fi
4、修改linux内核,修改/etc/sysctl.conf文件
输入命令: vi /etc/sysctl.conf ,按i键进入编辑模式,将下列内容加入该文
件
fs.file-max = 6815744
fs.aio-max-nr = 1048576
kernel.shmall = 2097152
kernel.shmmax = 2147483648
kernel.shmmni = 4096
kernel.sem = 250 32000 100 128
et.ipv4.ip_local_port_range = 9000 65500
et.core.rmem_default = 4194304
et.core.rmem_max = 4194304
et.core.wmem_default = 262144
et.core.wmem_max = 1048576
要使 /etc/sysctl.conf 更改立即生效,执行以下命令
[[email protected] home]#/sbin/sysctl -
5、配置oracle用户的环境变量
首先,切换到新创建的oracle用户下,
输入:su – oracle ,然后直接在输入 : vi .bash_profile
按i编辑 .bash_profile,进入编辑模式,增加以下内容:
umask 022
export ORACLE_BASE=/home/oracle/a
export ORACLE_HOME=$ORACLE_BASE/oracle/product/11.2.0/dbhome_1
export ORACLE_SID=orcl
export PATH=$PATH:$HOME/bin:$ORACLE_HOME/bi
export LD_LIBRARY_PATH=$ORACLE_HOME/lib:/usr/li
编辑完成后按Esc键,输入 “:wq” 存盘退出
三、安装数据库
1、当上述系统要求操作全部完成后,注销系统,在图形界面以Oracle用户登陆。
2、打开一个终端,运行unzip命令解压oracle安装文件
输入命令:
unzip linux_11gR2_database_1of2.zi
unzip linux_11gR2_database_2of2.zi
3、防止出现中文乱码 执行如下命令 export LANG=e
4、执行安装,输入命令:./runInstaller
初始界面:
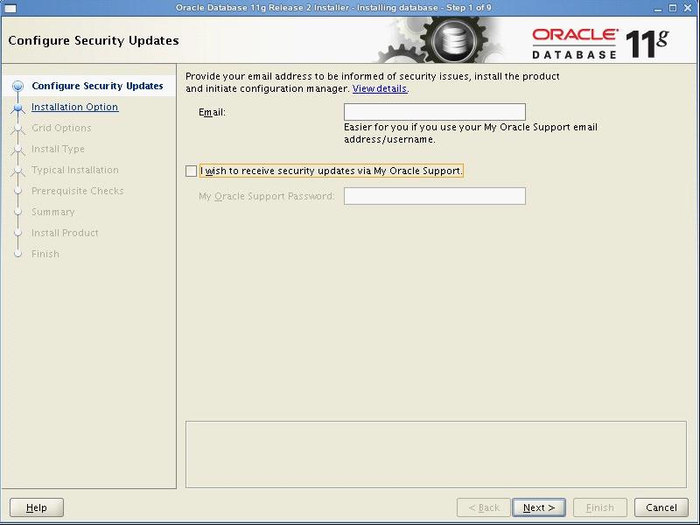
选择仅安装数据库软件
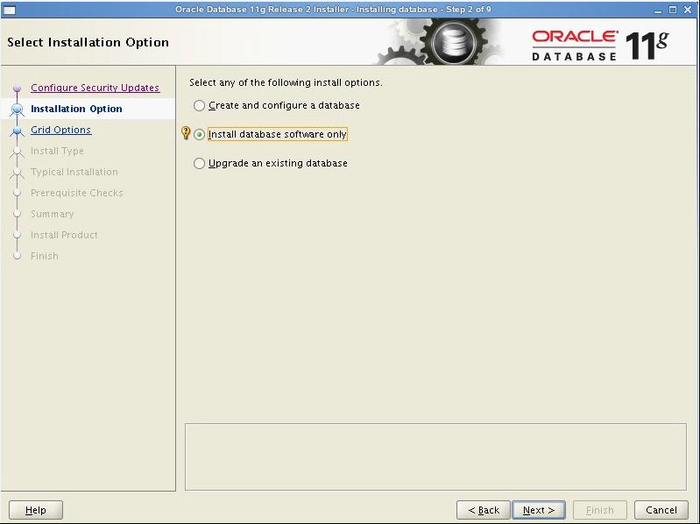
安装单个实例
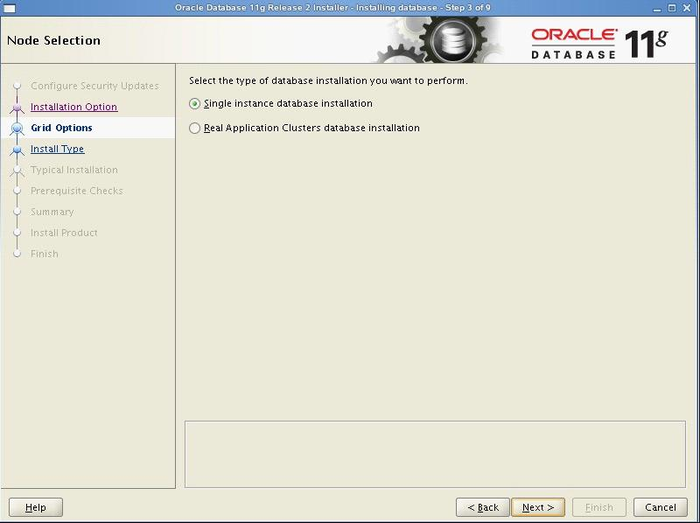
选择语言,添加简体中文
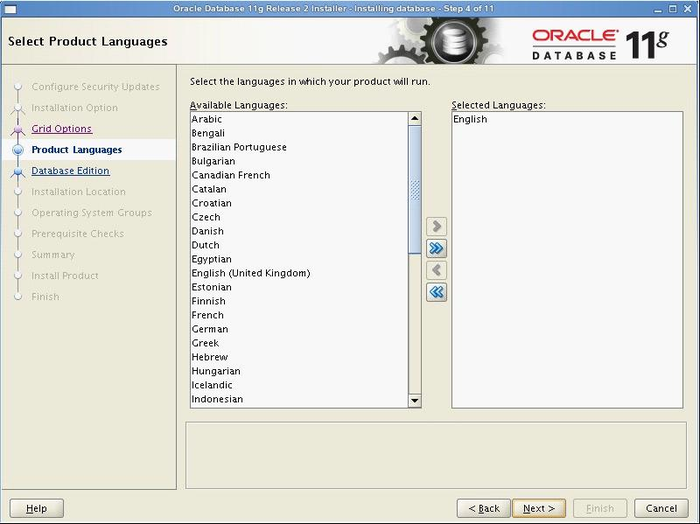
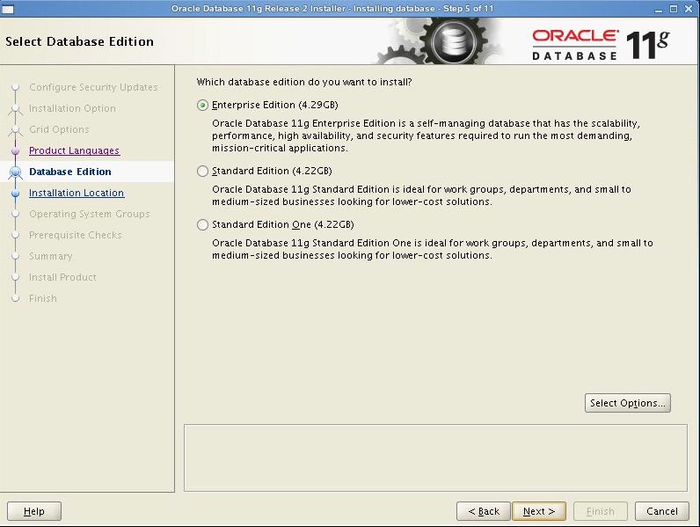
安装企业版,功能齐全
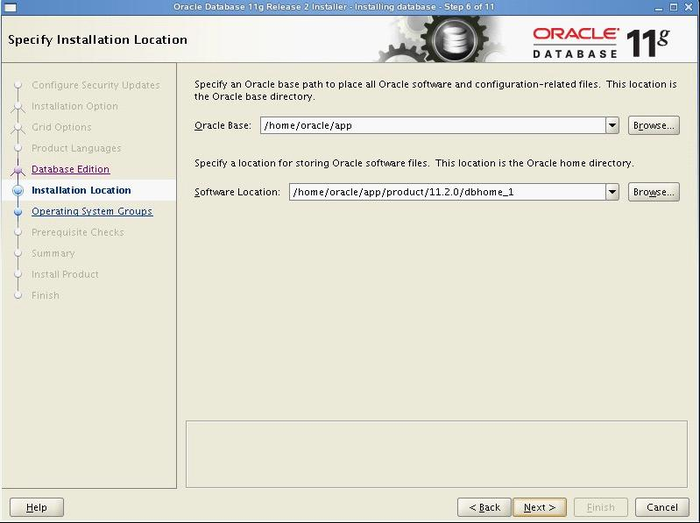
主目录与基目录,会根据设置的环境变量自动读取
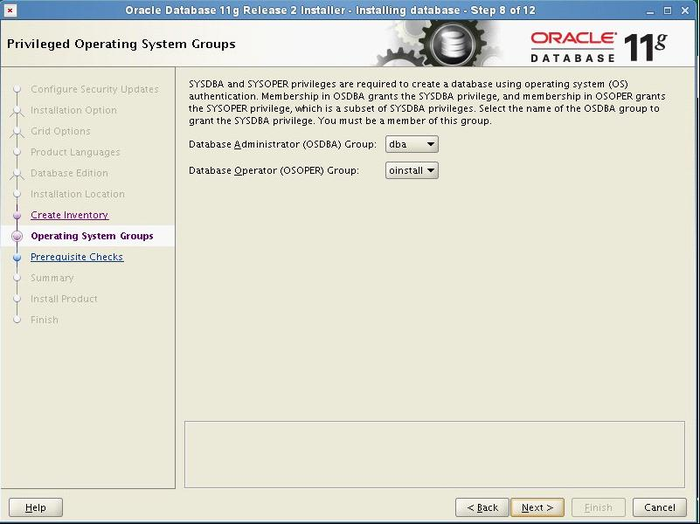
选择用户组
检查软件包
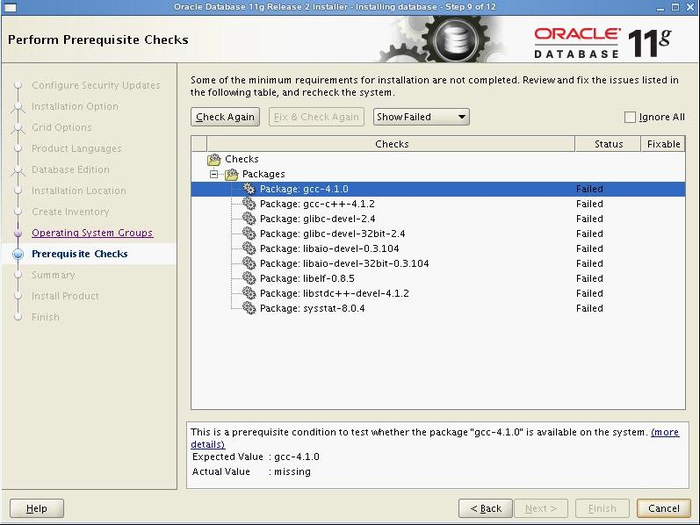
装到这一步,可以看到,很多的rpm包没有,我们可以从安装linux的光盘或ISO中查找所缺的包,然后使用rpm –ivh xxx.rpm --nodeps –force 来进行安装(其中加上--nodeps -- force 代表强制安装,是在直接使用rpm –ivh xxx.rpm安装不成功的情况下用的)安装。
The packages listed in the image is 32bit. You can just ignore them.(I was dying to find a solution regarding installing the same 32bit/64bit package. At length, i still couldn't find a solution.) when i went to this step. an error occured: "invoking target /home/oracle/app/oracle/product/11.2.0/dbhome_1/sysman/lib/ins_emagent.mk failed". I fixed this problem by changing this line in file ins_emagent.mk:
efore:
$(MK_EMAGENT_NMECTL)
after:
$(MK_EMAGENT_NMECTL) -lnnz11
// I haven't had fcitx installed yet, so excuse my sucking english.
等到把包全部都安装好的情况下,再次在oracle图形界面中,执行安装过程,下来在环境检查过程中,就通过了。
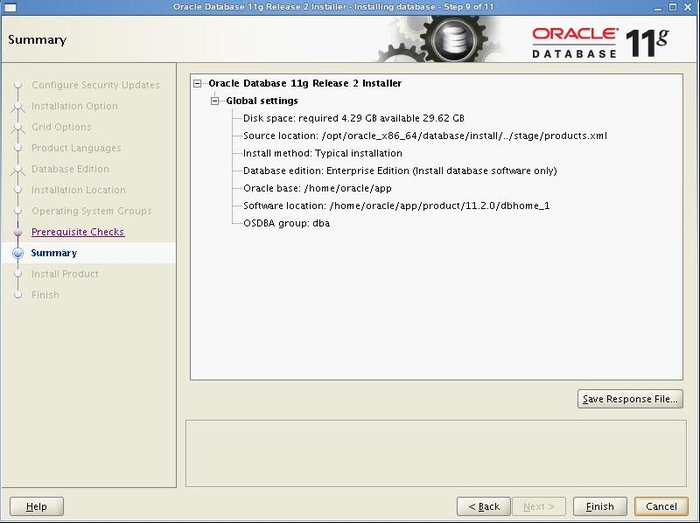
安装完成后,系统会提示你需要用root权限执行2个shell脚本。按照其提示的路径,找到其所在的位置,如:我的就
在/home/oracle/app/oracle/product/11.2.0/dbhome_1/root.sh
和 /home/oracle/app/oraInventory/orainstRoot.sh 新开启一个终端,输入命令:
u – root
cd /home/oracle/app/oracle/product/11.2.0/dbhome_1
h root.sh
cd /home/oracle/app/oraInventory
h orainstRoot.sh
四、创建数据库
切换到oracle账户,在终端中输入dbca,启动图形化创建。
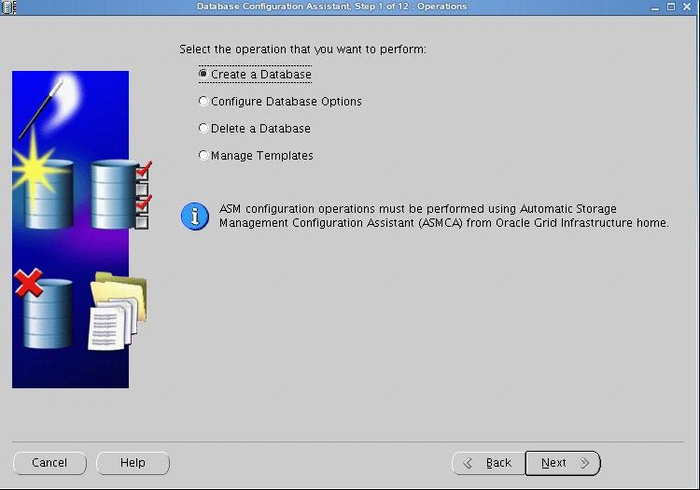
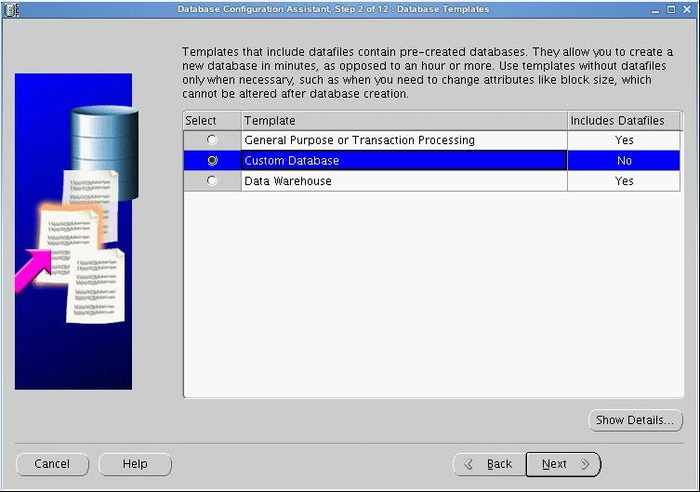
选择定制数据库
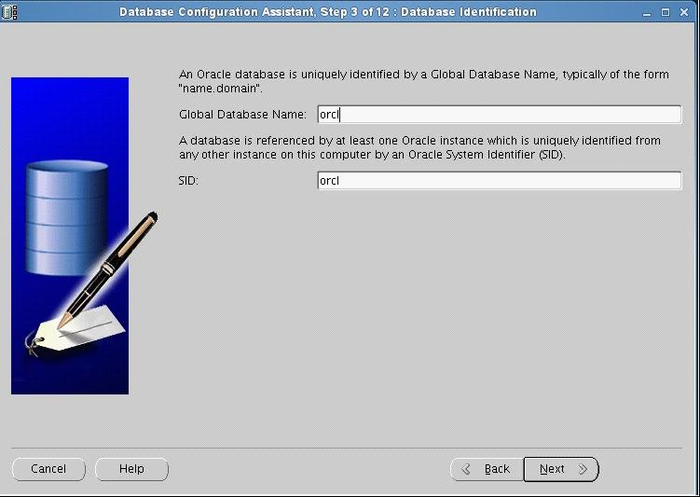
输入实例名和全局数据库名
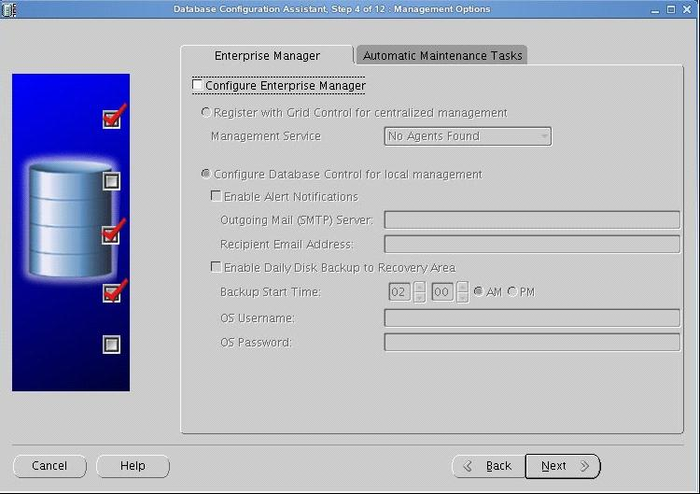
如果想通过web管理数据库,则险种配置企业管理器,否则不选
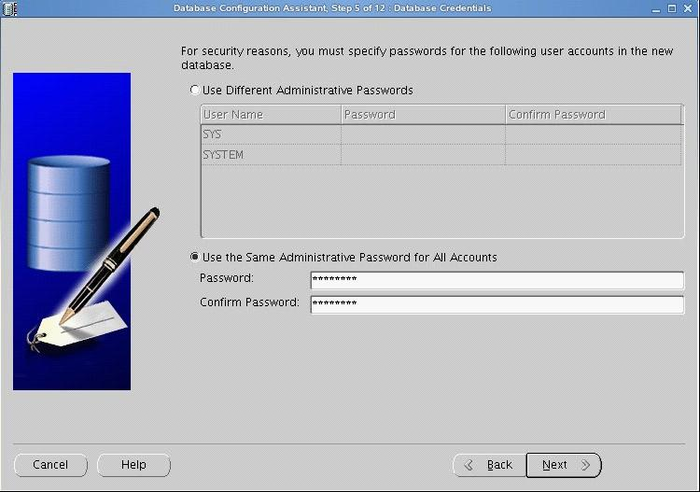
输入密码
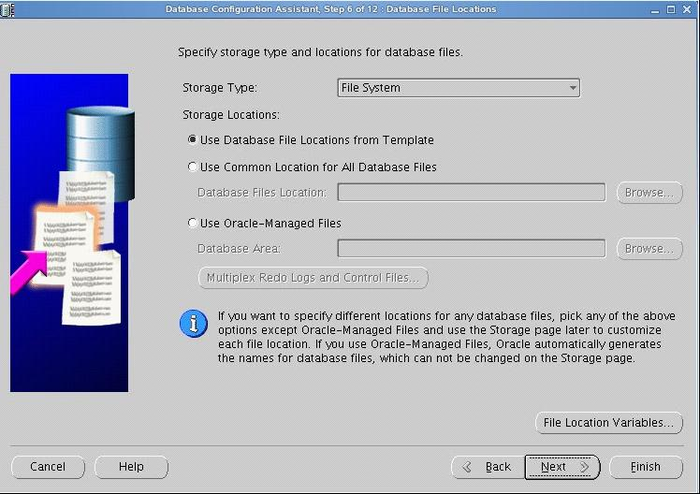
数据库存放位置选择文件系统
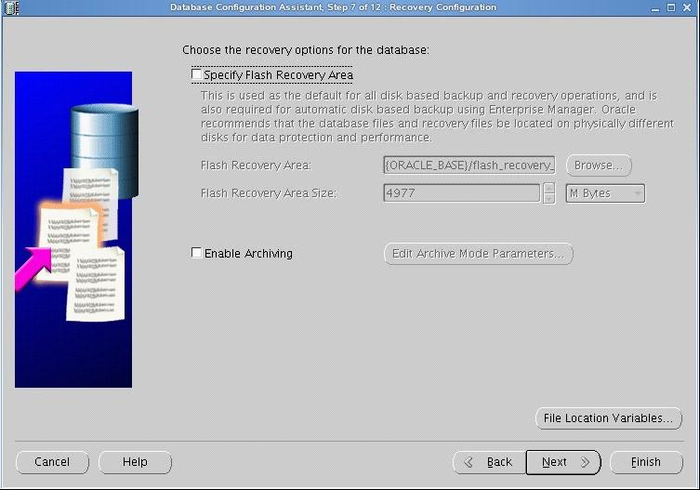
启用快速恢复和归档
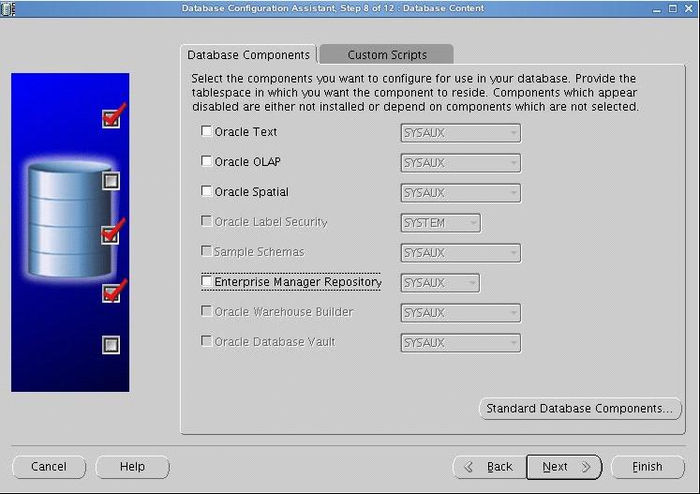
配置数据库组件,不确定的就全选
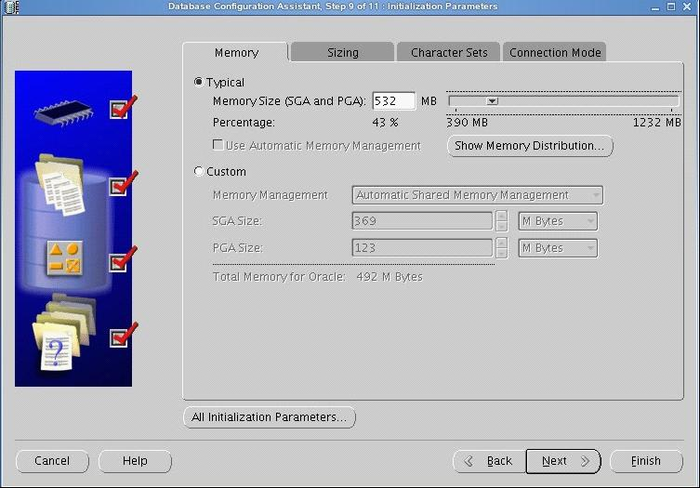
内存设置,启用内存自动管理
调整大小,设置块大小及进程数
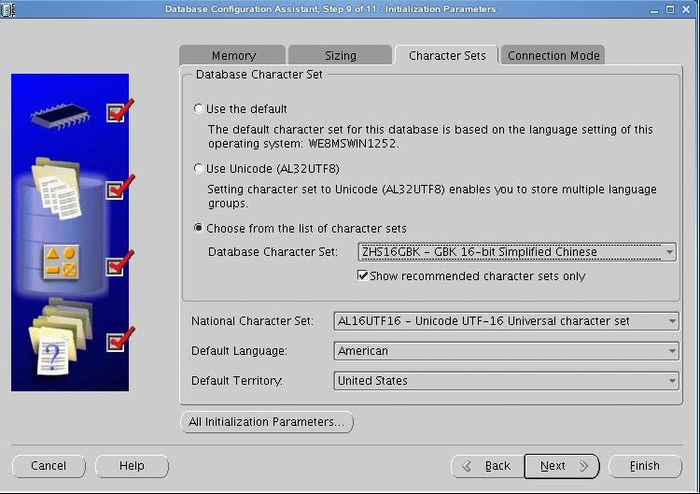
设置字符集
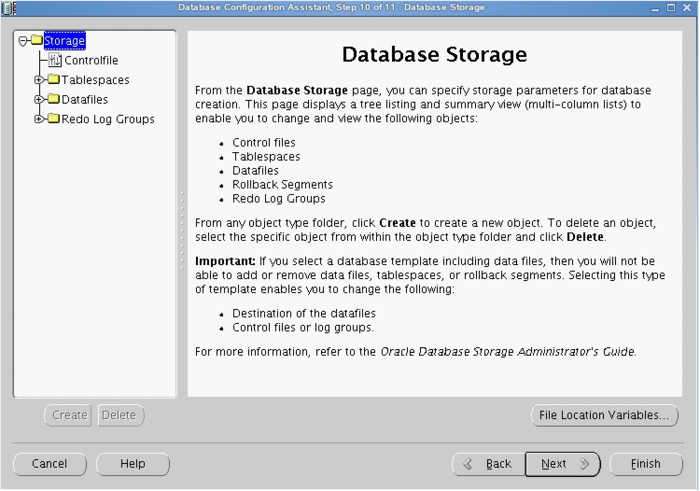
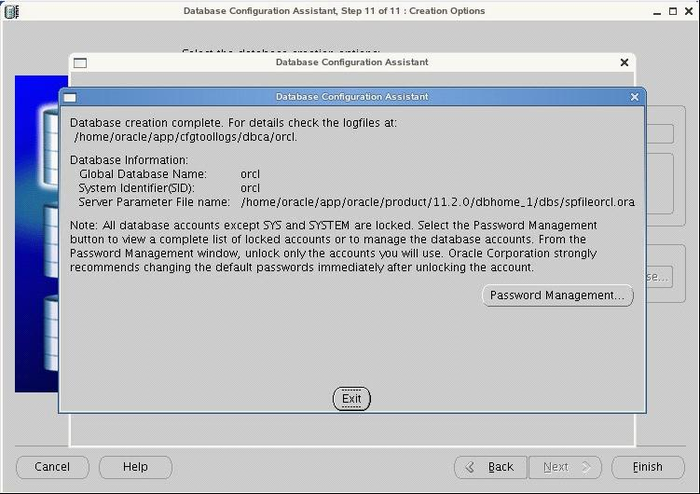
当看到此界面,说明oracle建库完成
转载于:https://www.cnblogs.com/JavaTechLover/archive/2013/01/13/fedora64-install-oracle.html